
Hi everyone,
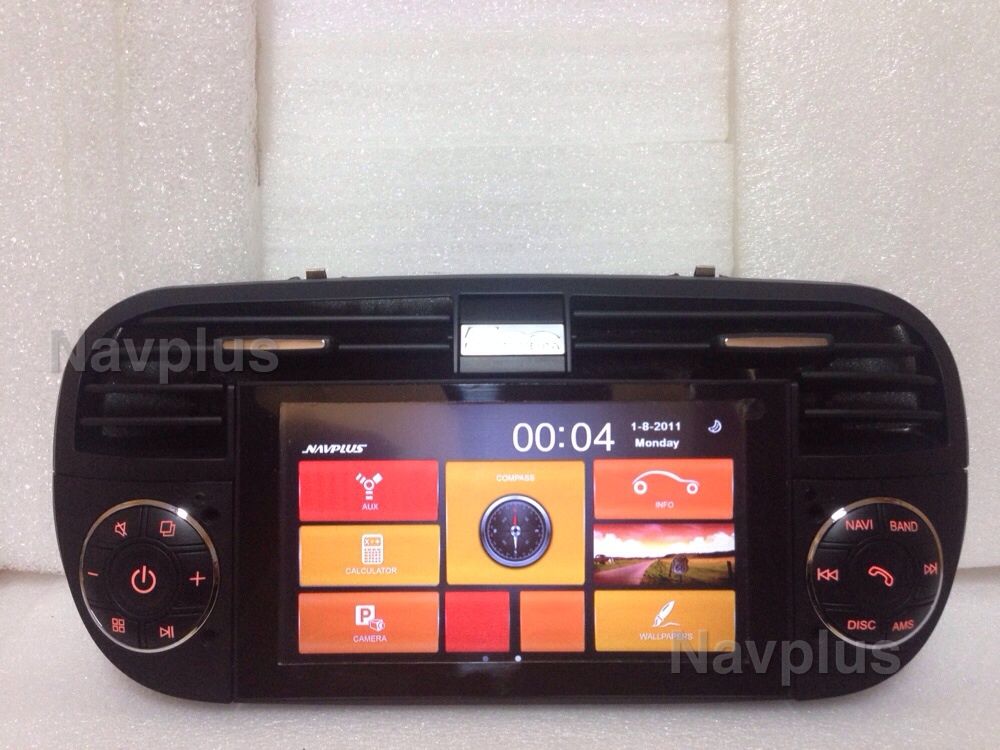
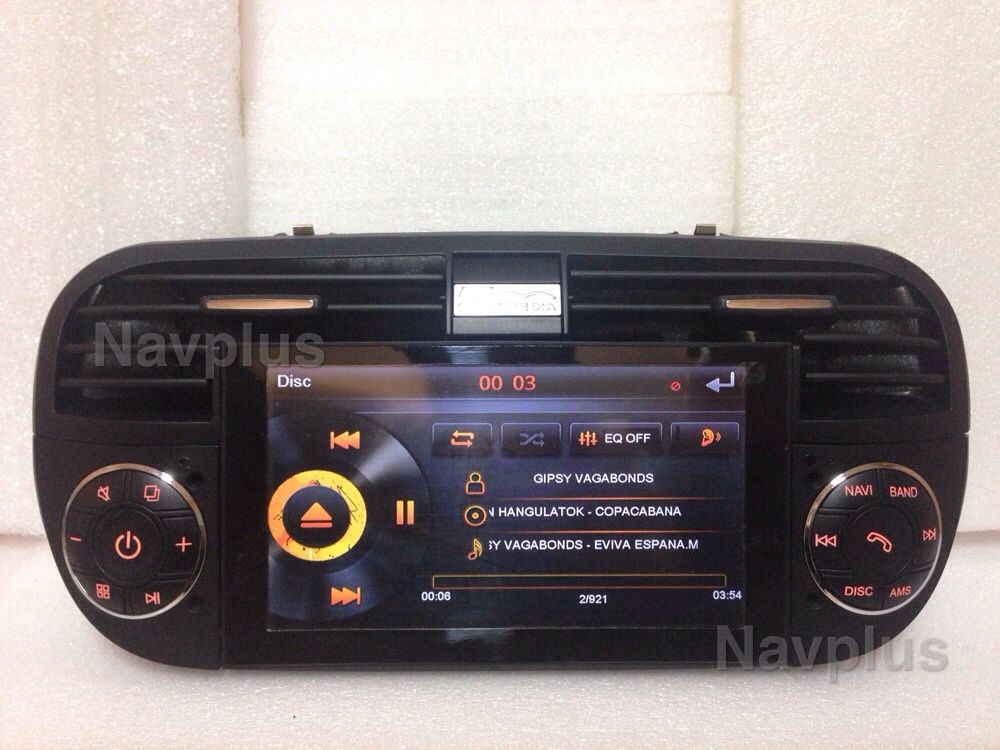
We all want the super cool nav unit or sick dbl din radio system.
here is the parts list I got my gear from Installer.com just easy to get it all from one place:
>>Installer.com Dash Kit
>>installer.com Harness
>>installer.com atn. adapter<<
>>installer.com Steering Control Unit<<
Ok Here are the tools you will need
"Ford Radio Keys" to remove OEM Radio
"Hook Pick" to remove radio blanks
10mm I think to remove radio cage
#2 Phillips screwdriver
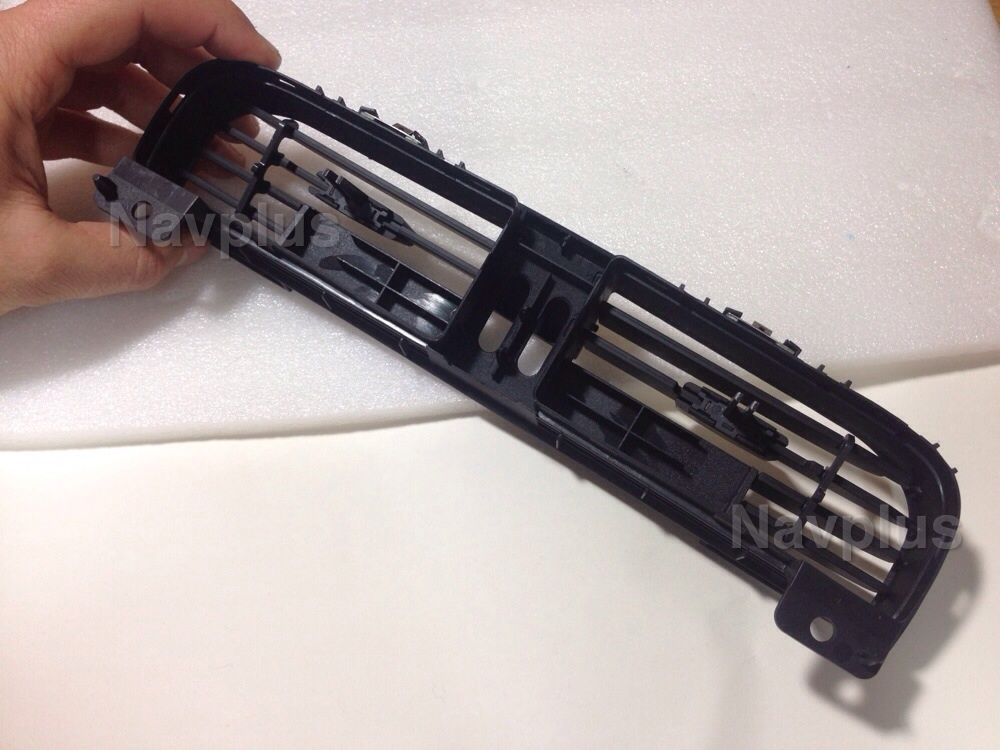
razor blade or knife for cutting the vent rubber.
Air saw or tool like it for cutting vents
![Image]()
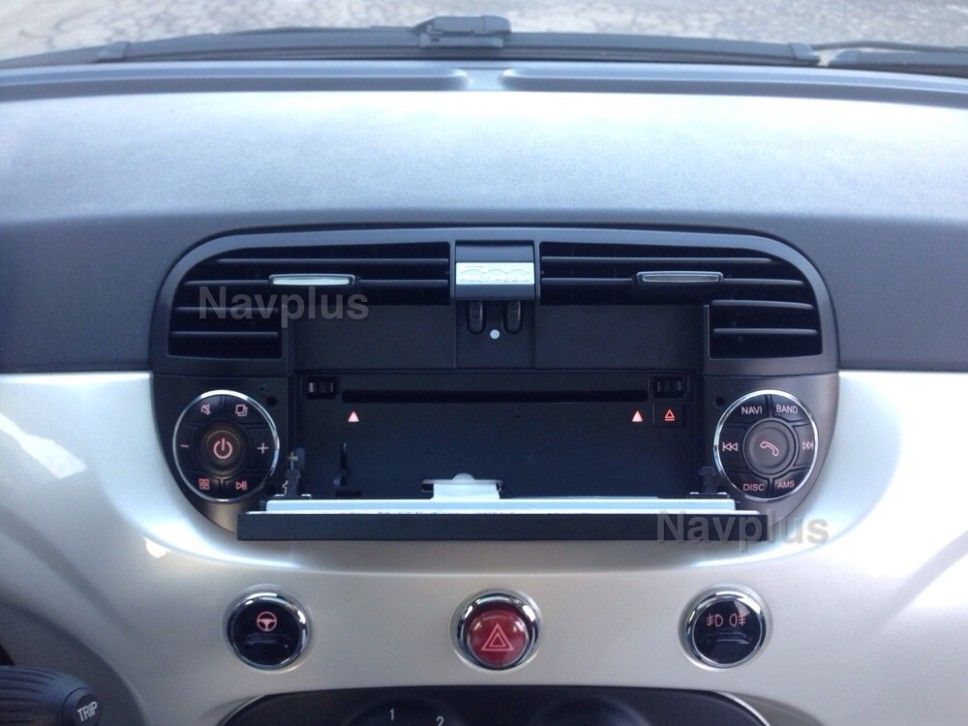
Here is how you remove the OEM radio
We all want the super cool nav unit or sick dbl din radio system.
here is the parts list I got my gear from Installer.com just easy to get it all from one place:
>>Installer.com Dash Kit
>>installer.com Harness
>>installer.com atn. adapter<<
>>installer.com Steering Control Unit<<
Ok Here are the tools you will need
"Ford Radio Keys" to remove OEM Radio
"Hook Pick" to remove radio blanks
10mm I think to remove radio cage
#2 Phillips screwdriver
razor blade or knife for cutting the vent rubber.
Air saw or tool like it for cutting vents

Here is how you remove the OEM radio
Super simple.
You will need:
Radio keys (Ford Radio Keys about $15)
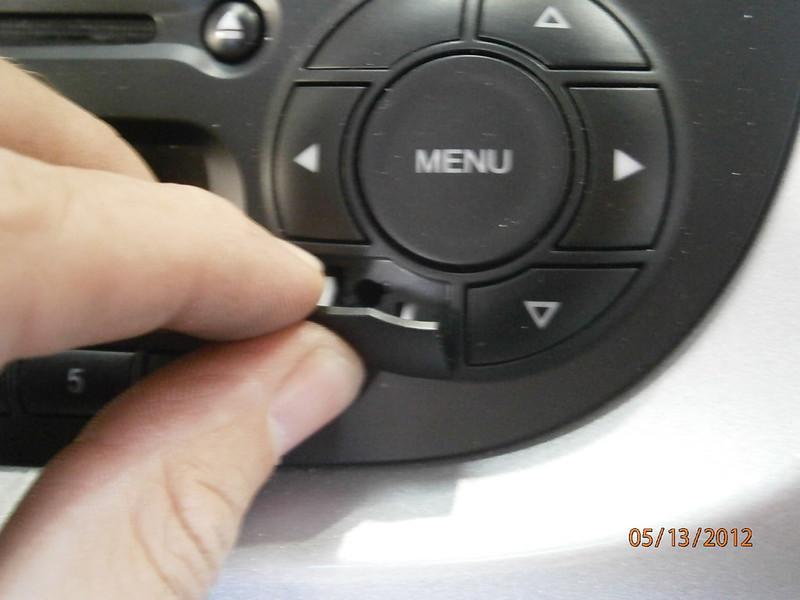
45^ hook pick of a wife with Nails if all else fails find a crackhead with the funny looking fingernail.
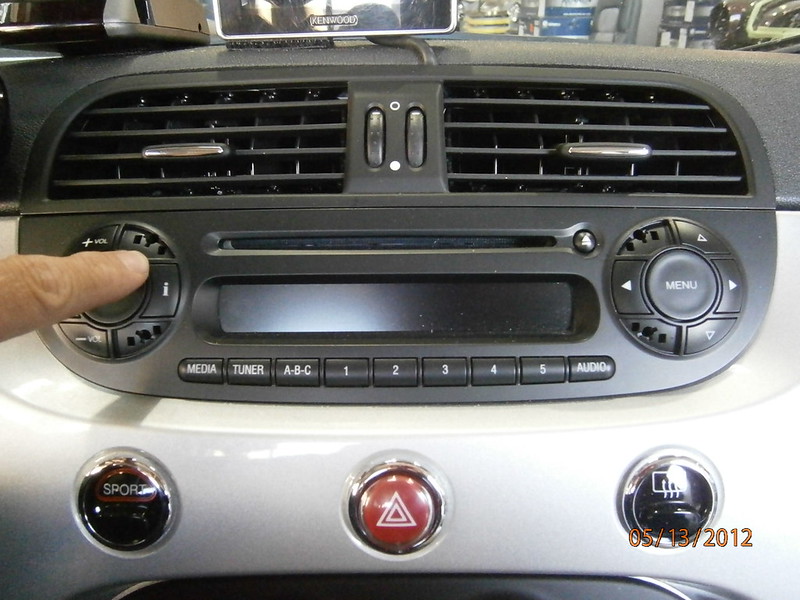
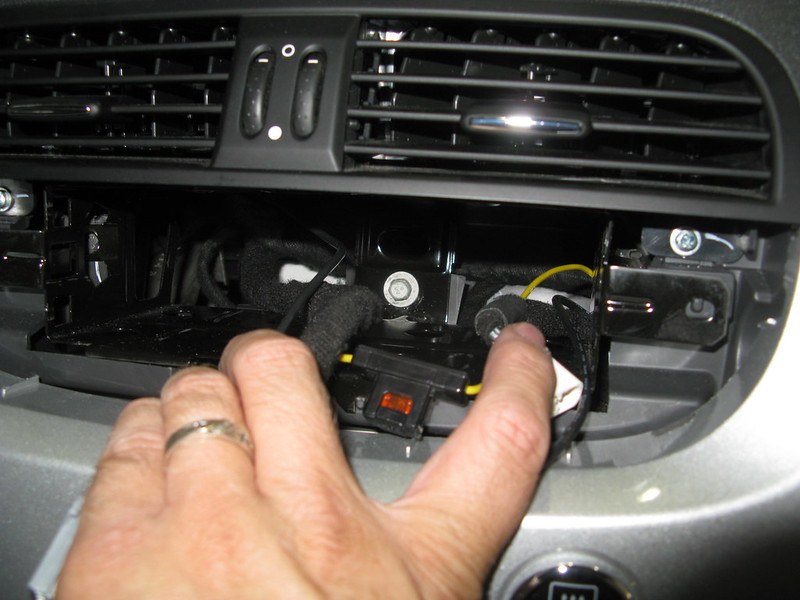
Remove the (4) blank tabs on the radio, insert "Ford Radio Keys" pull radio out.
Unplug and your done.
![Image]()
![Image]()
![Image]()
![Image]()
Wired up the harness (I do not have Steering Controls in my car so Add extra step here if you do)
![Image]()
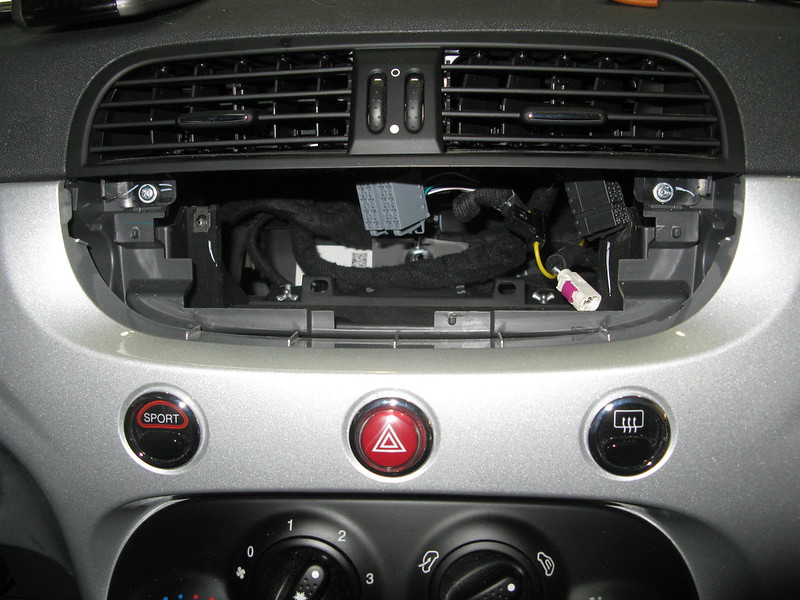
Ok now grab the 10mm or 8mm sorry I forgets.. undo the bolt at the back side.
You will also remove the (2) P2 screws from the vents & the (4) P2 screws from the radio cage.
![Image]()
![Image]()
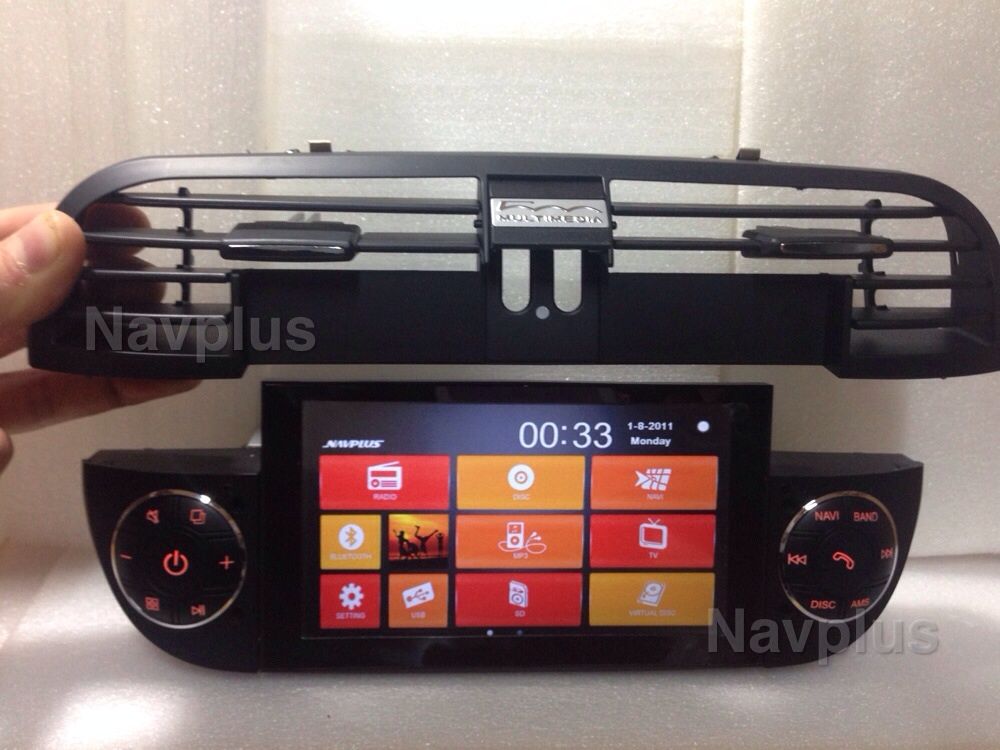
Now its time for some progress, Put the dash kit vents on Line up the vents cage and mark the area that needs to be trimmed.
The kit should come with instructions but I could not find them..so it may show it a tad bit different.
After marking the location do it 3 more times to make sure you are sure..
Then put the radio cage in place to re-make sure your sure..
At this time you should be sure that you are sure and know you will be cutting the vents in the right spot since you can not redo this.
Also it would be a PITA to go back to stock just saying.
![Image]()
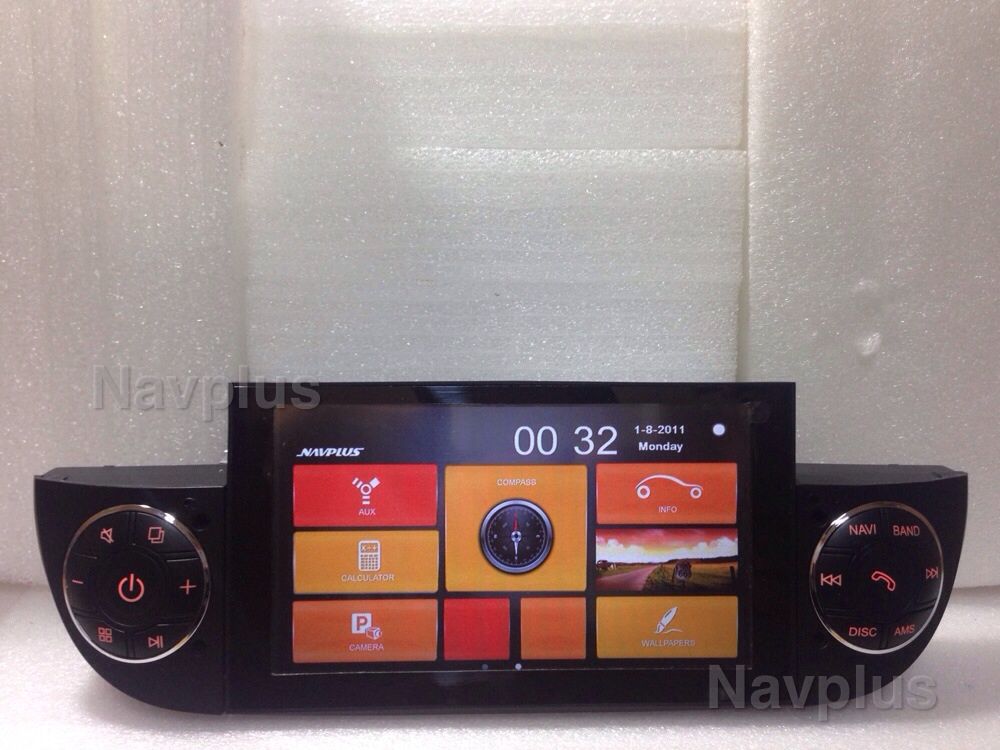
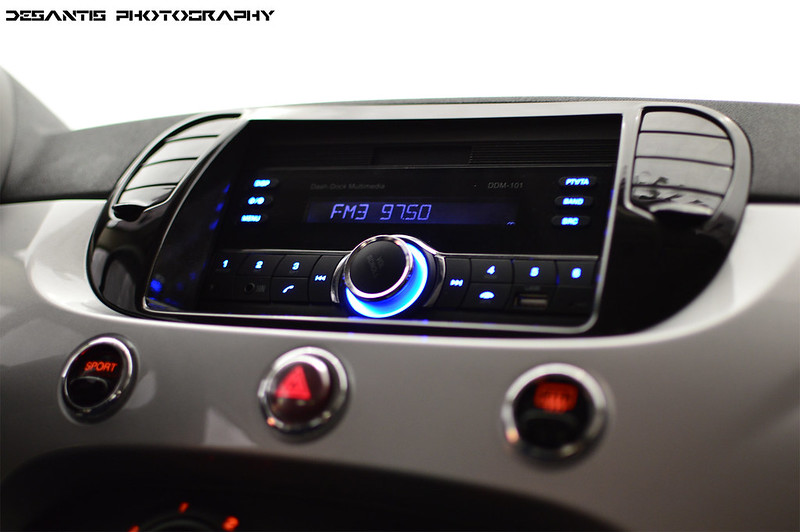
After cutting the vents and test fitting trimming and test fitting and trimming you can see the fit is **** perfect!
![Image]()
![Image]()
![Image]()
You will need:
Radio keys (Ford Radio Keys about $15)
45^ hook pick of a wife with Nails if all else fails find a crackhead with the funny looking fingernail.
Remove the (4) blank tabs on the radio, insert "Ford Radio Keys" pull radio out.
Unplug and your done.


Wired up the harness (I do not have Steering Controls in my car so Add extra step here if you do)

Ok now grab the 10mm or 8mm sorry I forgets.. undo the bolt at the back side.
You will also remove the (2) P2 screws from the vents & the (4) P2 screws from the radio cage.
Now its time for some progress, Put the dash kit vents on Line up the vents cage and mark the area that needs to be trimmed.
The kit should come with instructions but I could not find them..so it may show it a tad bit different.
After marking the location do it 3 more times to make sure you are sure..
Then put the radio cage in place to re-make sure your sure..
At this time you should be sure that you are sure and know you will be cutting the vents in the right spot since you can not redo this.
Also it would be a PITA to go back to stock just saying.
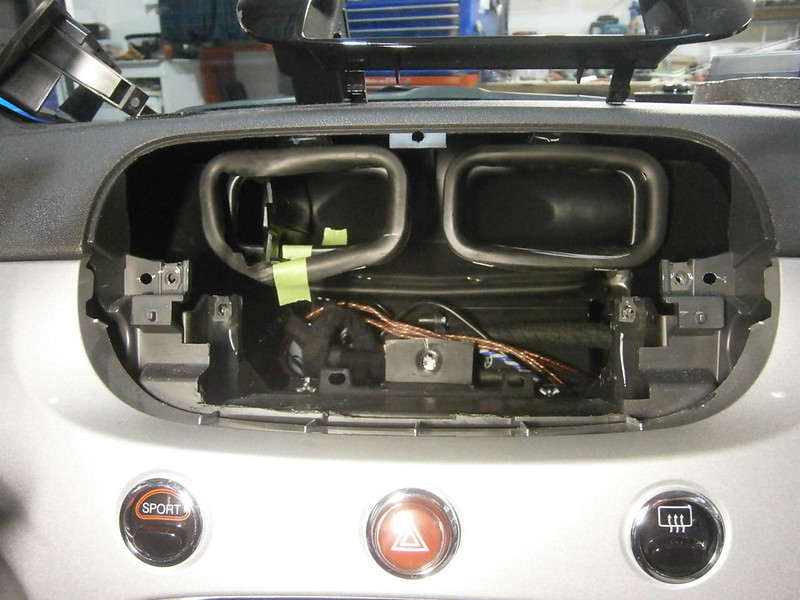
After cutting the vents and test fitting trimming and test fitting and trimming you can see the fit is **** perfect!


")